


How to Install Under Stair Lighting

Coil of flexible LED strip light
Updated 10/11/23 by 1000Bulbs Staff
Under stair lighting with LED strip lights is a cool and versatile way to light a high-traffic area in your home. This guide will take you step-by-step through two ways to install LED strip lights for under stair lighting.
Before you begin, if you cringe in the face of electrical current or wince at the thought of trying to make sure things are wired correctly, your best option is to leave the actual installation in the hands of a professional electrician.
Under stair lighting using LED strip lights is a matter of finding the right length and type of tape light, wiring it all together, and ensuring your cables and power sources are hidden.
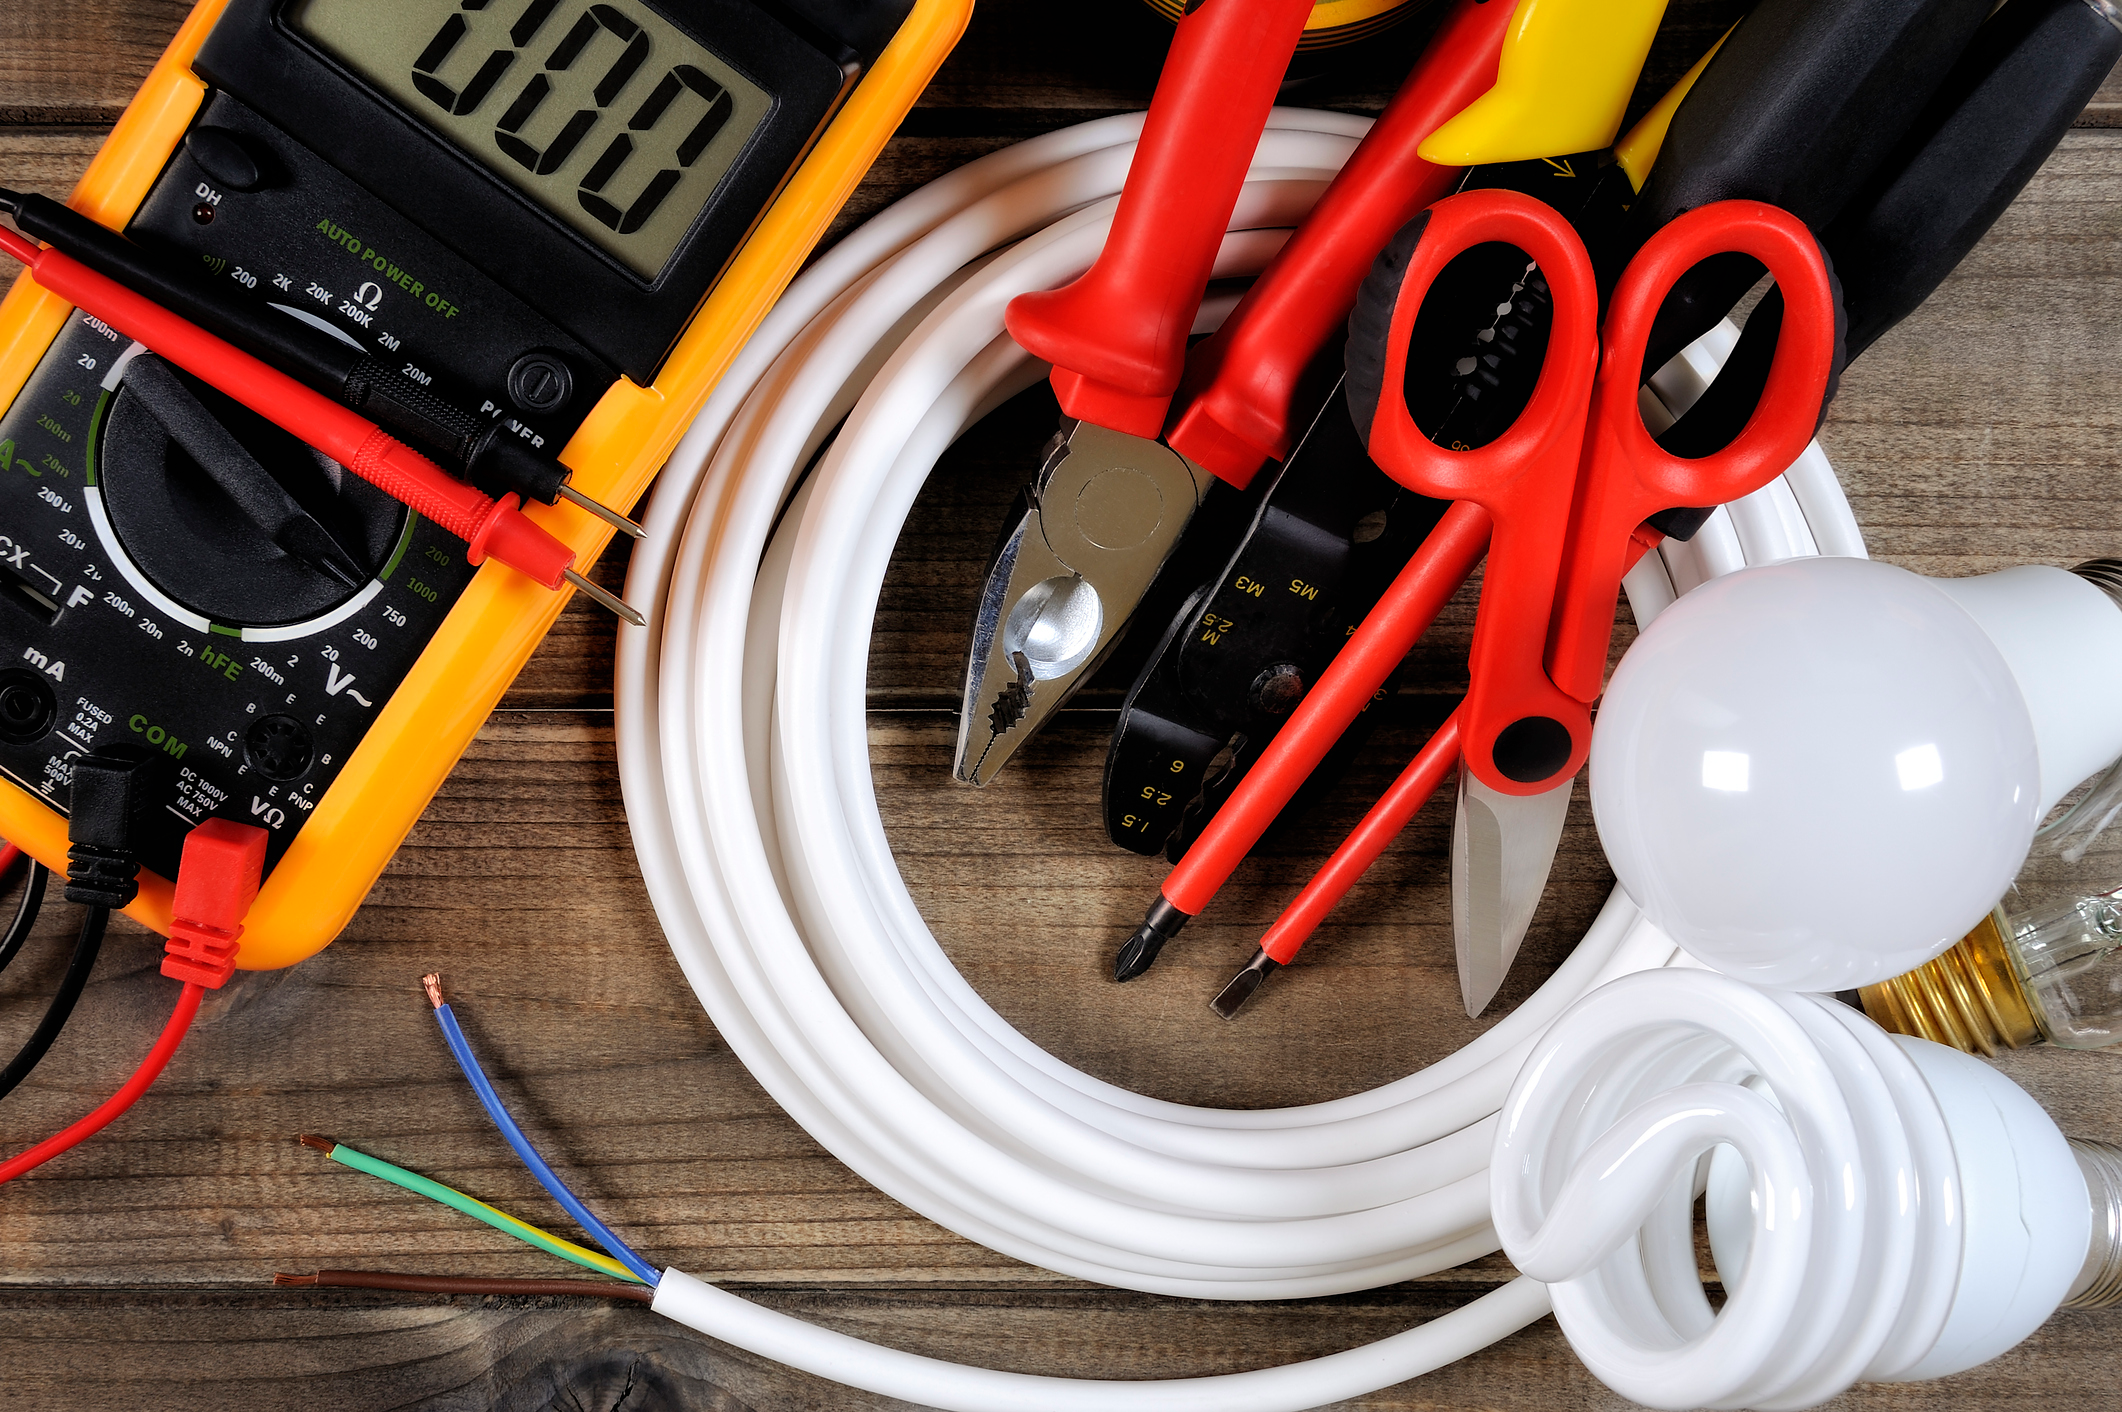
Be sure to gather all appropriat3e materials before starting to install LED strip lights.
Materials Needed for Installing LED Strip Light Under Staircases
Single color LED strip lights with or without adhesive backing (aka tape light in 12 or 24-volt)
A 12-volt or 24-volt LED driver (optional driver with built-in plug for Method #1)
Wire cutter/stripper
Power drill
Optional Materials for Method #1: Lighting Your Staircase Using a Single Run of LED Lights
Interconnection cables
LED strip lighting channel guides
Screws
Additional Materials for Method #2: Installing LED Strip Lights on Each Step of Your Staircase
18 AWG, 2-conductor electrical wire (i.e 2 wires)
Soldering iron
Solder
LED light strip channel guides (optional)
Silicone brackets (optional)
Screws (optional)
It should be noted that you can also use rope light and the corresponding accessories for under stair lighting. We provide a comparison of the advantages and disadvantages of both strip lighting and rope lighting in our article entitled, Rope Light vs. Tape Light: Which is Better?
Method #1 - Lighting Your Staircase Using a Single Run of LED Lights
The easiest method to light your stairs utilizes a continuous length (i.e. “run”) of 12-volt strip lighting, provided the total length of the LED light strips plus the cables to the driver is 16 feet or less; you can even use 24-volt strip light for a longer run.
However, if your staircase is longer than 18 feet, you will need to split the strip light run between two LED drivers to ensure the proper amount of power.
Step 1 – Assess Your Staircase
You will need to decide where you want to mount your strip lights. This way, you would run one single straight line of strip lights at the base of your stair railings, underneath the small lip of molding, or for stairs with open-air or floating steps, run the strip lights just under the entire staircase.
You may need to drill holes or lift the carpet to cover up the wiring. The idea is to mount the lights in way that only the illumination is seen but the lights themselves are not visible.

Simple strip light installation
Step 2 – Install LED Strip Lights
If you can do a single run, peeling adhesive backing off the backing tape or screwing in silicone brackets every foot or so is all that is required for assembly. Interconnection cables or pin connectors can be used if you need a gap or if you have an odd length of strip light.
For runs that need to be split, a driver would reside at both ends of the full run but the two runs would not be connected. Each LED driver for your strip lights will need to be hidden and wired to the most convenient light switch.
If you don't have a light switch already near your stairs, you will need to install one or you can install an outlet near the base of the wall (for an LED driver with a built-in plug) and wire the outlet to your preferred light switch.
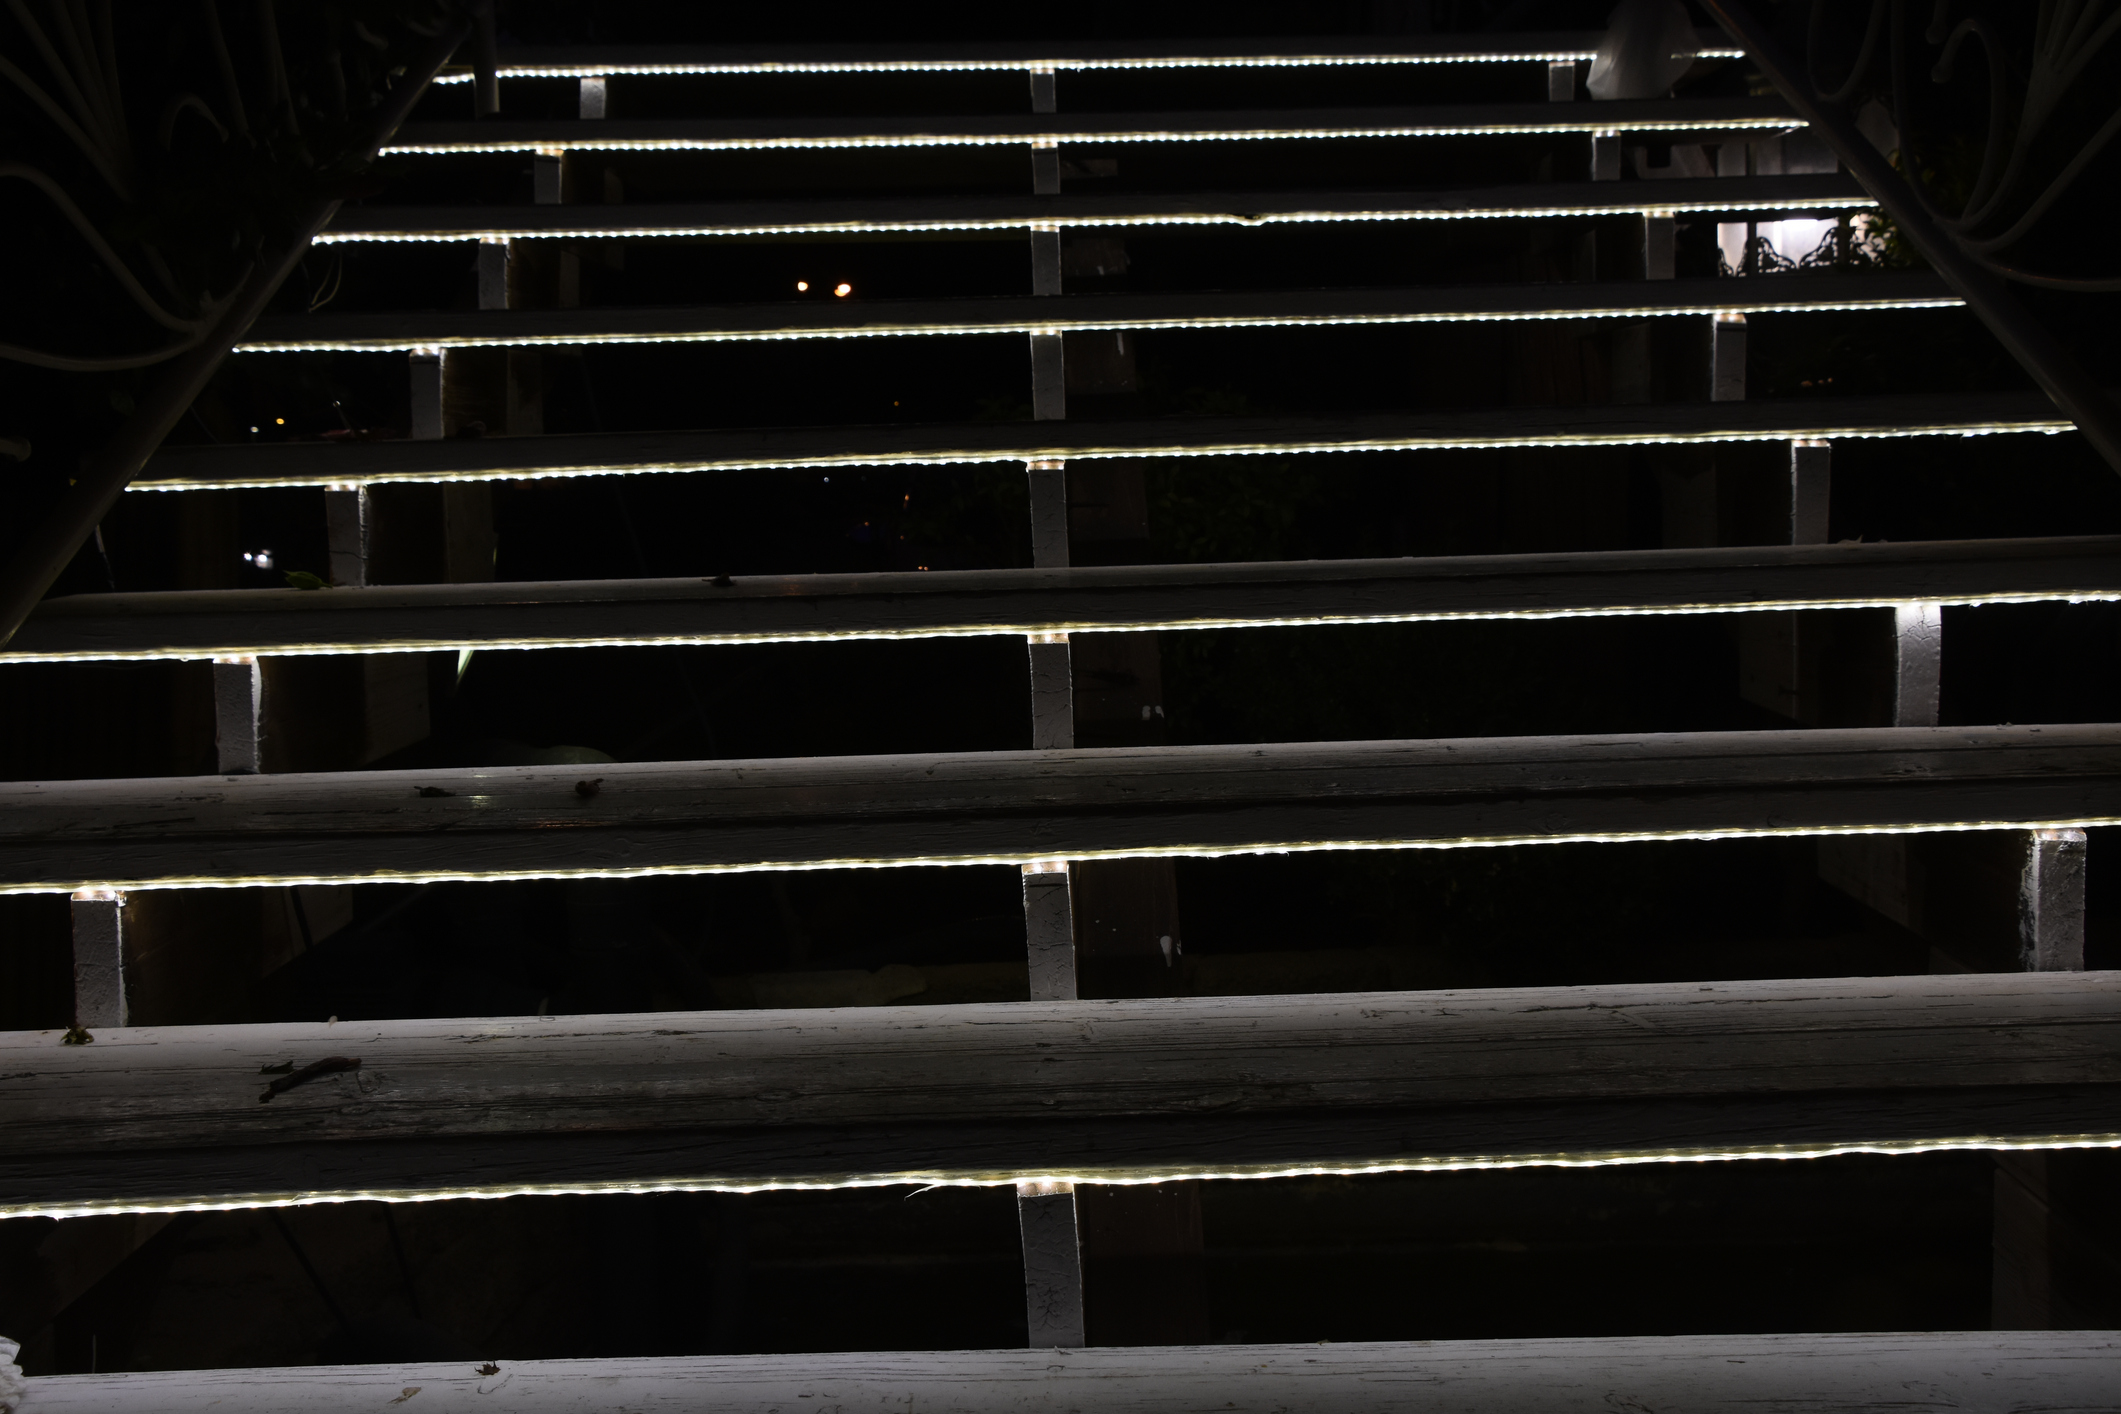
LED tape lights installed underneath each step on outdoor wooden staircase.
Method #2 - Installing LED Strip Lights on Each Step of Your Staircase
The more complex version of under stair lighting lights the underbelly or lip of each individual step. This side accent lighting is an advanced technique which requires the skills and knowledge of electrical soldering work.
This is not a beginner's project and if you feel unsure of your ability to complete this project, please call a licensed electrician instead. The following instructions assume you already have a suitable location for your LED driver and are wiring your lights to or from the driver's location.

LED strip light with marking to show designated cut lines
Step 1 – Measure and Prepare Your LED Lights and Wires
First, measure then cut the strip to the desired length to fit each step. Remember to only cut the strip on the designated cut lines to preserve functionality.
If you are using pre-cut lengths of LED strip lights with at least one male connector end attached to each light strip and buy 2-wire adapters with female ends, you can connect the lights in parallel without soldering. If not, you will want to prepare the wiring as you attach one strip of lights to each stair.

12-inch LED strip light adapter, normally used for dimmer controllers
For every length of 18 AWG wiring that will be attached to the lights, you will need to strip off about a half-inch of the insulation from the wire ends and lightly pre-tin the exposed copper wire. Tinning the wire means coating the twisted wires with a light coat of solder.
After you straighten and carefully twist together any of the bent exposed wires, tinning will help you attach the wires more easily to your strip light. You must also put a drop of solder on whichever positive and negative copper pads of the strip light you plan to use for the connections.
The pads are recognizable by the plus or minus signs and are often on the cut lines for the LED strip lights.
Please note that this only works if your strip lights are non-insulated or not covered with a silicone coating. We don't recommend removing or cutting open the insulation of that kind of LED strip light, since it will void any weather or water-resistant features.
Step 2 – Place Wiring on the Stairs
This step is optional depending on the type of staircase you have.
If you have floating steps, the wiring can be connected underneath each step. If your staircase has paneling between each step, you may need to drill into the steps or add extra molding to conceal your wires.
You will need access to the area beneath your staircase as drilling into steps would result in the wiring coming out underneath the staircase. You would make your connections there, wiring to the driver.
Step 3 – Connect Your LED Strip Lights to the Driver
Trim your tinned wires until only about ¼-inch of the original exposed length remains.
Use the soldering iron to press one positive and one negative wire to the prepared soldered pads for each light strip. Those wires should be connected in parallel to the LED driver location.
For example, each positive wire from the LED strip must connect via a wire nut to the positive wire of the LED strip preceding it.
In addition, a third positive wire should also be included in the wire nut connection. The third wire continues the wiring forward to the next LED strip until you reach the positive wire from the power source.
All the positive wires should only connect to other positive wires, vice versa for negative wires.
Step 4 – Connect Your Driver to Your Light Switch
Assuming you want a controller for you lights, your LED driver will need to be placed near and wired to a light switch.
You may consider building a compartment to conceal it or recessing it into the wall below the switch. You do not want to use a driver with a built-in or molded plug for this step, since the plug would have to be removed.
Turn off the power supply to the switch and then connect two of the wires, one positive and one negative, to your LED strip lights and the other two wires plus the ground wire (usually green) to your light switch.
Read the manufacturer's installation instructions for more detailed information about wiring your LED driver.

For LED strip lights that have a sticky tape backing, press firmly to install.
Additional Tips to Ensure LED Strip Light Adhesive Backing Adheres Properly
Whether you choose to install led strip lights as a single run or on each individual stair, ensuring the light strips stay put once installed is paramount.
Many brands have a sticky adhesive backing, making it easy to install LED strip lights. If your LED light strips don't have an adhesive backing, you can use strip light channel guides or small silicone brackets with screws to mount your LED strip lights.
For LED strip lights that have adhesive backing, there are a few steps you can take ot ensure the adhesive adheres properly to the installation surface.
Always start with a clean surface, making sure it is free of dust, dirt, or any other contaminants that could prevent the adhesvie from working properly.
You can use alcohol wipes, or isopropyl alcohol and a lint-free cloth to thoroughly clean the installation surface. Let the area dry fully before attaching the light strips.
Next, gently peel off the protective backing and firmly press the exposed adhesive to the surface. Work your way carefully from one end to the other, making sure your led strips are positioned well. Press firmly to allow the adhesive to fully stick to the surface.
When installing your LED strip lights on uneven surfaces or textured surfaces, apply extra pressure when sticking the strip lighting to the surface. You can also use an adhesive promoter or install additional supports like clips or brackets to help hold the light strip securely.
Need Further Help Finding the Best LED Lights for Your Space?
We welcome any pictures of your awe-inspiring lighting projects, code for Arduino-controlled motion sensors lights, or even questions about the right kind of strip lighting for your set-up in the comment area below.
Learn more about LED strip lights and cove lighting projects on our blog. Our post on How to Install Cove Lighting is a great place to start.
Our 1000Bulbs.com staff would like to help you to take lighting where no lighting has gone before, please call us at 1-800-624-4488, Monday through Friday, 7am to 7pm CST, for expert advice on the latest lighting products.


