How to Install Under Cabinet Lighting
Bookshelves, pantries, and cabinets create excellent storage space, but they tend to leave their underlying desktop and countertop companions in the dark. Have no fear, under shelf and under cabinet lighting is here! Under cabinet lighting is typically used to provide task lighting underneath shelves and cabinets to surfaces with frequent activity. Our installation guide will outline your lighting choices as well as walk you through the initial setup process.
Before you begin, these guidelines require moderate knowledge of wiring and electrical work. If you do not feel comfortable or have no experience with electrical work, please contact a professionally licensed electrician. Also note that before performing any electrical work, the main power to that area should be turned off at the circuit breaker.
Materials Needed
Xenon/Fluorescent/LED under cabinet light fixtures, LED light bars, or LED strip lights
Adapter power cord
Strip light connectors or linking cables
Power drill
Screw
| For Strip Lighting | For Hard Wire Installs | |
|---|---|---|
|
Choosing Your Lighting
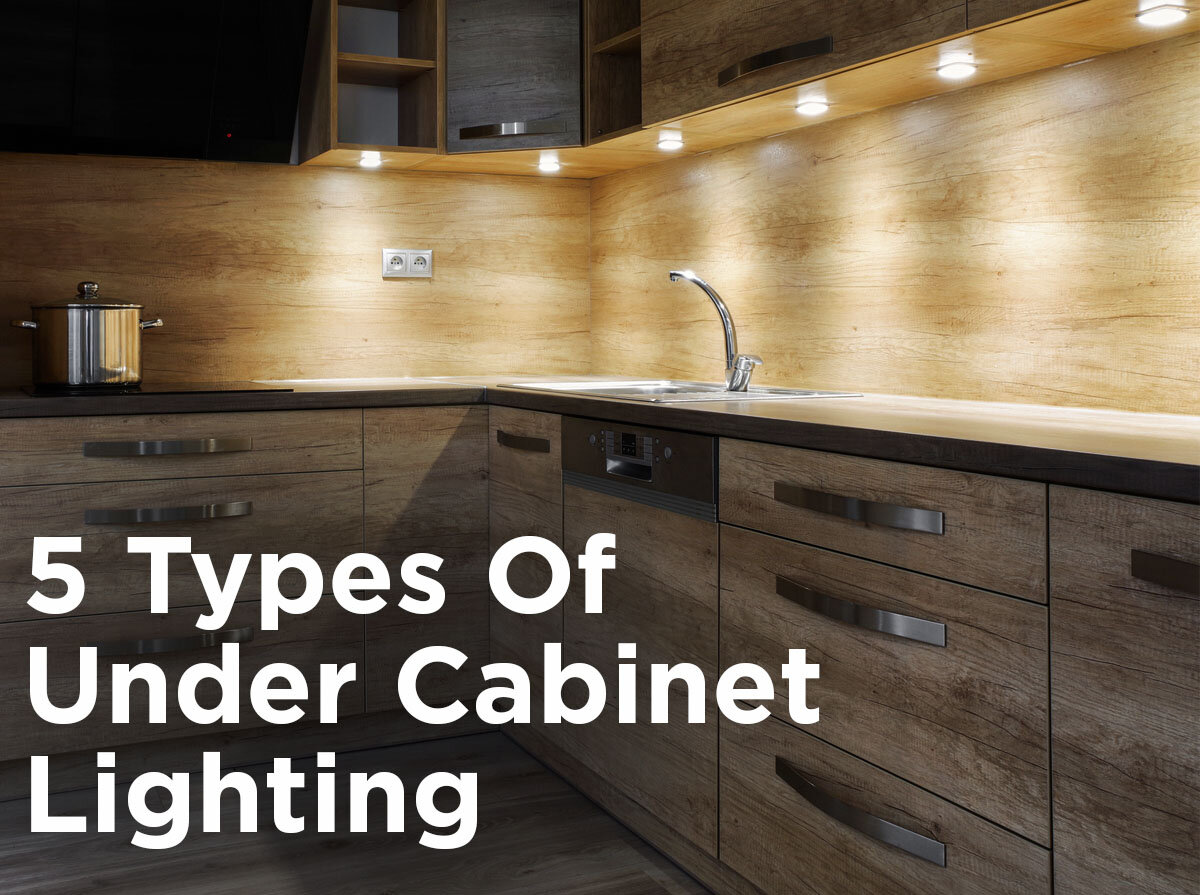
Lighting the underbellies of your cabinets is easy with convenient under cabinet fixtures. The light source for your fixtures could be xenon, fluorescent, or LED; all in various lengths. Under cabinet fixtures tend to be very particular in accessory requirements, so read the specifications and instructions of your chosen fixtures to insure you have all the necessary parts. Make sure to buy the same brand of accessories as the fixture as the parts are not interchangeable. Depending on your preferences, you need to decide which type of fixture provides the advantages that are most important to you.
Xenon. Xenon fixtures were the first type of under cabinet lights to be used and are valued for their clean, blue-white light. Granite or marble countertops and backsplashes look their best in this light because the fixtures have near-perfect color rendering. Xenon fixtures are also the lowest initial cost option, however, they also give off the most heat. Since more heat than light is being produced, these fixtures consume the largest amount of power as well. Your nice flower arrangement or bowl of fruit would perish under the rays. Therefore, it’s recommended that Xenon fixtures be used specifically as task lighting, turning them on and off as needed to manage heat output and energy costs.
Fluorescent. For an energy-efficient yet also budget-friendly option, fluorescent fixtures are an ideal choice. These fixtures use less power and produce almost the same amount of light as xenon fixtures. The downside is fluorescent under cabinet fixtures have less-than-optimal color rendering, making colors appear grayish or washed out. This disadvantage keeps fluorescent fixtures limited to task lighting only rather than accent or ambient general lighting.
LED. LED under cabinet fixtures come it two types: traditional LED fixtures and LED light bars. Overall, any LED under cabinet lighting use 50 to 75% less energy than other light sources and have an extensive lifespan. LED fixtures also offer more range in color temperatures. You can select LEDs in warmer, 2700K to 3500K color temperatures for rich paint colors and wood-based surfaces. LED light bars, specifically, are narrower in shape for tight fits and have a flush interconnectivity for gap-free, seamless installation. Factoring in low heat output and highly efficient energy use, LED under cabinet fixtures can maintain longer operational time for both task and general lighting situations. Make sure any LED fixtures you buy have a frosted lens included to diffuse the light diodes, reducing any unsightly glare spots.
LED Strip Lights. LED strip lights or tape lights are the most versatile of the lighting choices, given their flexible nature. Strip lighting can come in various colors for a customized look and unique backsplash. LED strip lighting can be very bright, so you will want diffused or frosted lens to spread out the light similar to an LED fixture. You can learn more about strip lighting pros and cons in our breakdown, Rope Light vs. Tape light: Which Is Better?
Hard Wire or Plug-In: Installing Your Lights
Many under cabinet fixtures have a built-in light switch, so a simple power adapter cord for the nearest outlet will suffice. Yet if you want to control multiple fixtures simultaneously, a hard wire assembly may be necessary to allow a single light switch to power your installation.
The fixture that is closest to your chosen power source location can be wired to the main power of your house. This means you are either A) disassembling and reassembling an already established wall switch or B) installing an entirely new wall switch. Only the first fixture needs to be hard wired to the switch, any addition fixtures can be connected via linking cables.
For safety, use junction boxes any time there are exposed wiring connections, meaning wherever you have to use a wire nut to hold the wires together.
You will need to read the specifications and the installation instructions for your under cabinet lighting to determine how many fixtures can be safely linked. If you need more fixtures than the listed maximum connections, you will need to wire the remaining lights to a secondary power source.
Many LED fixtures have built-in drivers, eliminating the need to wire and mount an external driver. Fixtures that don’t have internal drivers will need external drivers wired between the switch and the fixtures to regulate the flow of power. The driver should be able to handle the total wattage of all of your fixtures combined or you could have several drivers, for a set amount of fixture wattage, wired in series to the wall switch.
An LED strip lighting installation requires an external LED driver to be wired to the main power source, so make sure the driver voltage matches your strip lighting voltage. You can use interconnection cables with strip lighting to stretch the length of your cabinets, pin connectors for gapless illumination, and L-shape connectors to turn corners. Strip light channel guides can ensure perfectly straight lines but if you buy strip lighting with tape backing then the assembly becomes screw-free. LED strip lighting does have one shortcoming, the total length of the strip lighting and cables cannot exceed 16 feet. Therefore every 16 feet, another driver needs to be introduced and wired to the main power source to reduce the risk of voltage drop.
Pumped up for your next DIY project or do you still have questions? Leave any clever comments, thought-provoking questions, or ingenious work-around suggestions in the area below. Find more DIY ideas, advice, and general lighting how-to on our Facebook, Twitter, LinkedIn, or Pinterest. The 1000Bulbs.com staff implores you to do away with dull kitchens and dim bookshelves, call us at 1-800-624-4488, Monday through Friday, 7am to 7pm CST, for the answer to a well-lit home.


