How to Repair a Table Lamp [Video]
Repairing a table lamp, like creating your own antique pendant lamp, is one of the easiest DIY lighting projects you can perform. In addition to making use of an old lamp, repairing a lamp also gives you the opportunity to update it to match the latest styles.
The typical table lamp—shown in the photo—consists of 6 parts: The base, the spindle, the socket, the cord, the plug, and finally, the shade.
1. Remove the Bulb and Lamp Shade
To begin your repair, you'll need to disassemble the lamp. Unscrew the bulb from the socket; then remove the lamp shade.
2. Remove the Socket
Most sockets consist of two parts: The shell and the cap. The shell is the part that holds the socket and the switch, while the cap only snaps onto the shell and screws to the lamp spindle. Pry or unscrew the socket shell from the socket cap. Leave the wires connected to the socket shell, and don't remove the socket cap just yet.
3. Remove the Old Cord and Plug
Because we're going to completely replace the cord and plug, use a pair of wire cutters to cut the plug from the cord. Now, pull the socket shell and cord from the top of the lamp. Then check to see if there is a setscrew where the socket cap attaches to the spindle. If there is, loosen it before unscrewing the socket cap from the spindle. Finally, unscrew the spindle from the lamp base.
4. Prepare the New Cord
Now it's time to rebuild the lamp. Start by using wire strippers to strip both ends of the replacement cord by about a half inch. If you're using a cloth-covered antique cord like us, use scissors to trim back the cloth another quarter to half-inch and wrap the ends of the cloth covering with electrical tape to prevent fraying.
5. Thread the New Cord Through the Lamp
Pass one end of the cord through the bottom of the lamp base and out through the top. Thread the wire through the spindle and reattach the spindle to the lamp base. Next, thread the cord through the bottom of the new socket cap, screw the cap to the spindle, and tighten the cap's setscrew if it has one.
6. Attach the New Socket
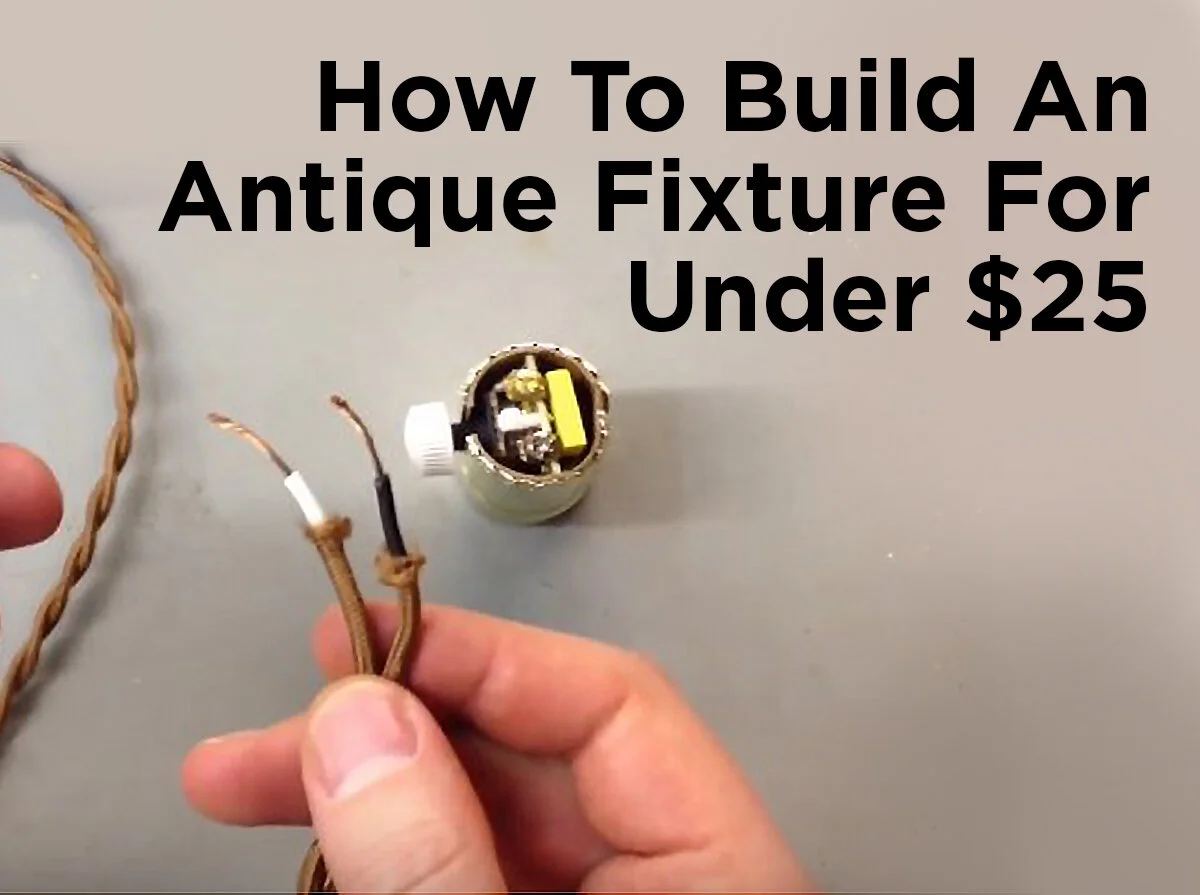
Pull through about 4 inches of the new cord, separate the two wires, then tie them into an Underwriters Knot. The Underwriters Knot will prevent the cord from being unintentionally pulled loose from the bottom of the lamp base. Attach the black (positive) wire to the brass screw terminal. Attach the white (neutral) wire to the other screw terminal in the same way. Snap the socket shell to the socket cap.
7. Attach the New Plug
Disassemble the plug and attach it to the other end of the cord in the same way: Black wire to the brass terminal and white wire to the silver terminal. Reassemble the plug after you've attached the wires.
8. Replace the Bulb and Lamp Shade
Now replace the bulb and the lamp shade, and you're done. For a detailed visual step-by-step, check out the video below. Be sure to share your idea in the comments selection below or on our Facebook or Google+ page. You can also follow us on Twitter or show us your project on Pinterest.


![How to Repair a Table Lamp [Video]](https://images.squarespace-cdn.com/content/v1/56feae0ab6aa60ebb6039bf3/1614706440870-KEAU6MXE9XZW22L476MV/How+to+Repair+a+Table+Lamp.jpg)


