


How to Grow Tomatoes Indoors with Hydroponics
From pizza to burgers, salads, and sauces, tomatoes are one of the most popular home-grown foods. They are versatile in size, color, and flavor. Tomatoes like moderate temperatures, not too hot and not too cold, perfect for indoor growing. They come in 2 major types: determinate and indeterminate. Determinate form a tight dense bush, good for smaller systems, but will only produce once and then die back. Indeterminate will sprawl or grow large, requiring a great deal of staking, but if pruned back after fruit-ripening, may produce another crop. That can make a quite a difference when choosing a variety for your hydroponic system.
Talkin' 'Bout Tomatoes
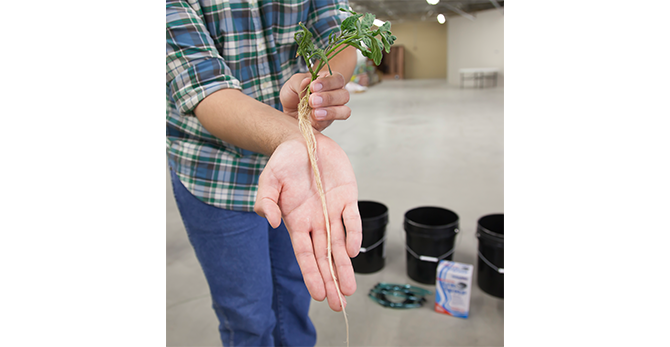
Tomatoes can be propagated by seed in rockwool cubes or by cloning suckers from your current tomato bush. Simply soak the bottom 2 inches of the cuttings in clean water until roots sprout, then transplant. Because of the diversity of tomato varieties, it is difficult to say how quickly your crop will be ready, but a good average is between 60 and 80 days from transplanting it into the hydro system. If possible, try to stagger your crop by starting a new planting every month, cycling out old bushes for a continuous yield.
Whether using deep water or drip systems, water soluble fertilizers are dissolved in the reservoir to provide nutrients to the plants. In the case of multi-step fertilizers, each addition should be fully dissolved before adding another. The pH and Electrical Conductivity of the nutrient solution should be checked regularly and often, at least 2-3times a week in case it needs to be adjusted. Tomatoes require more calcium than other crops, so be sure to add a mineral supplement to your nutrient regimen. Your seedlings need 12-18 hours of light a day.
Intermediate
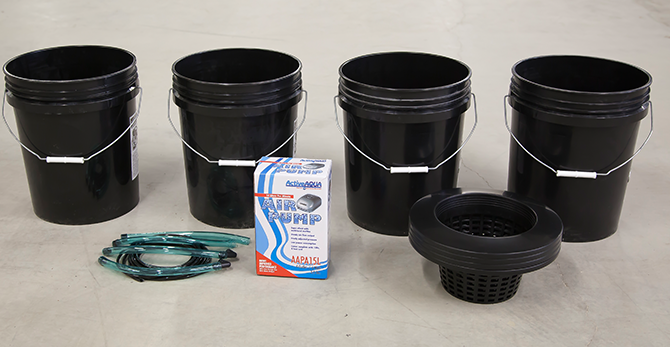
| Stuff You’ll Need | |
| Tomato cuttings | 36L Clay Pebbles or Hydroton, rinsed |
| Rockwool mini-cubes |
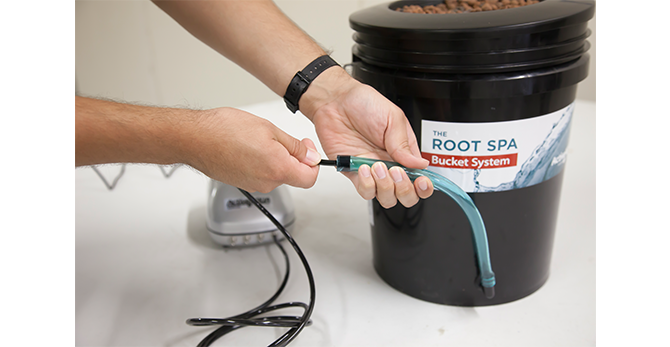
Deep water culture systems like this one use an air pump to keep water oxygenated. Roots grow down into the bucket reservoir to access water and nutrients. Opaque buckets prevent algae growth. Once you start to see roots on your tomato cutting, tear your rockwool in half vertically and fold in your cutting. Put 1 cutting/cube in each basket and fill around it with the clay pebbles so that the top of the media is at least 1 inch from the top.
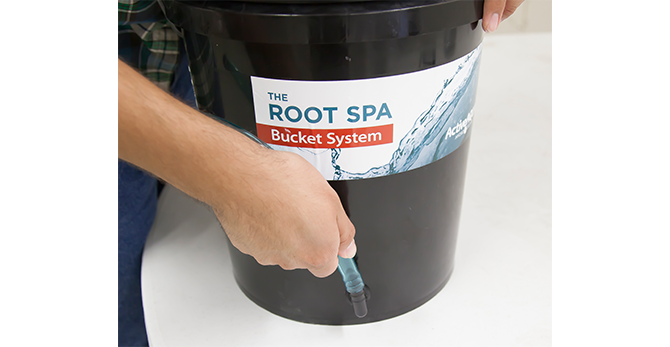
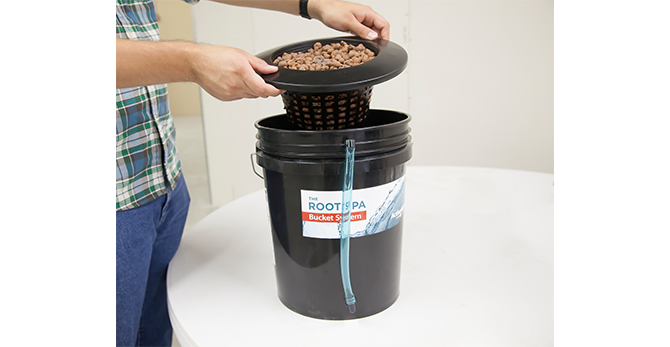
Place the ½” elbow to the grommet at the base of the bucket. Blue 1/2” tubing connects to the elbow on the outside and extends upwards. After securing the ¼” tubing to the top of the blue tubing, run it to connect with the air pump. Fill the Root Spa bucket with water and add nutrients. Place the basket in the bucket, checking that the water level comes up the roots but does not flood the stem.
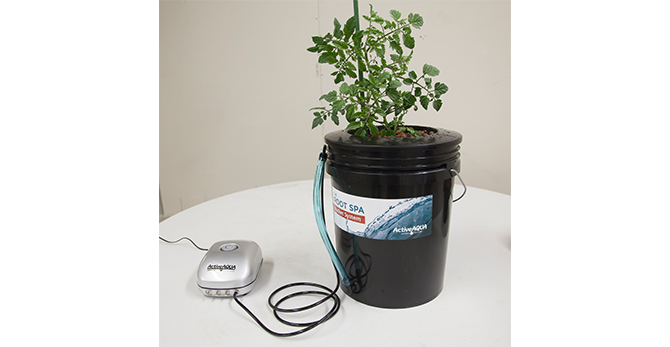
The air pump won’t need a timer, as it should run continuously. With the Root Spa, you can choose between models with 1, 4 or 8 bucket modules. When, using multiple buckets, it may be easier to mix the nutrient solution in a larger drum or reservoir and fill each bucket from it to maintain uniformity throughout your crop.
Advanced
| Stuff You’ll Need | |
| Tomato sprouts/cuttings | WaterFarm 8-Pack Drip System |
| Clay Pebbles or Hydroton, rinsed |
A pre-made drip system, the WaterFarm Controller Kit uses an air pump to provide a continuous fine drip of nutrient-rich water down through the root system of your tomatoes. This system minimizes the time spent checking pH and EC since there is only one reservoir, instead of several as in the case of a deep water system. This system is perfect for more advanced growers looking to customize crop rotation. Though no timer is needed, due to the pump running continuously, a loss in power for a few hours could devastate your crop, unless the roots have grown deeper into the grow modules to reach the nutrient solution.
This system works best when using reverse osmosis water and when flushed regularly to prevent salt build up. Buckets can be set up in a number of patterns to fit many different space requirements, giving you flexibility between tomato types. You will want to pre-mix you solution in a separate reservoir. The float valve in the controller bucket cuts off the flow of nutrient solution from the reservoir into the system, maintaining a pre-set solution height beneath the roots of your plants in the grow modules. This height can be customized to suit any crop or solution.

In each module, a pumping column extends down through the growing chamber into the bottom of the bucket. The drip ring connects to the top of the pump column, as does the air-line tubing. As the air is pumped down into the bucket, water is forced up through the column and ring to the plant roots.
Straight fittings near the bottom of the controller bucket connect to a T-fitting the in the bottom of each module by blue ½” vinyl tubing. Cut the tubing to the desired width between the buckets and connect each end to the T-fittings according to your desired layout. After you’ve installed the float valve and connected all your grow modules, place the reservoir on top of the controller bucket, and connect it to the controller via more blue tubing. Fill the reservoir with solution.
“Saucy” Submissions
Check out our earlier post to choose the right grow light for your system. Need help? Leave a comment below or contact our experienced staff to get you growing in the right direction. Tell us all about how your favorite tomato varieties and recipes on Facebook, Twitter, LinkedIn, or Pinterest!


