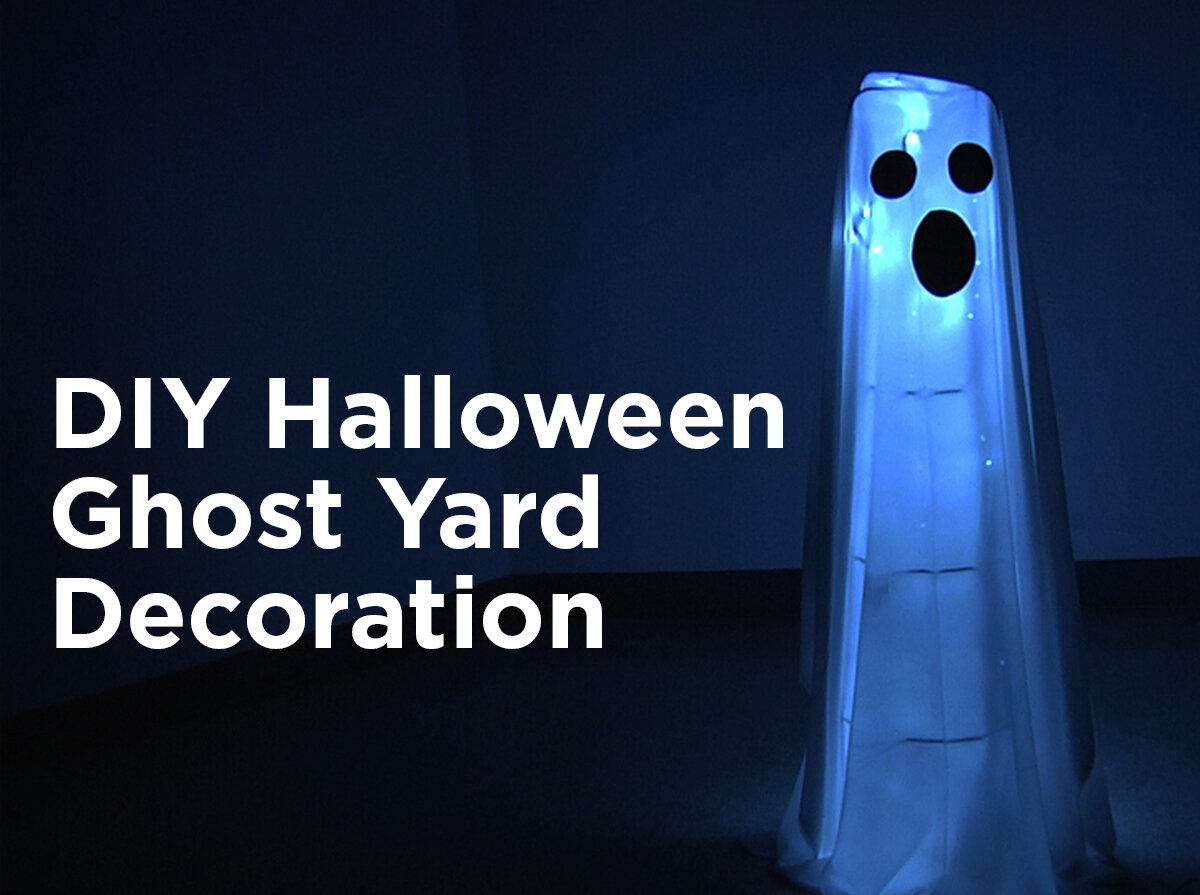
DIY Halloween Ghost Yard Decoration
Halloween is almost here! If you're like me, you love being creative and decorating your home. Today, we are going to be talking about making a glowing ghost to haunt the front yard this season! It is super easy to make, inexpensive, and made with things you most likely already have in your house. This crafting idea is fun for the kids as well! You can make your ghost as scary or silly as you'd like!
Materials to Build Your Ghost
1. Chicken Wire or a Tomato Cage
You'll need this for the base of the ghost. Tomato cages work best because they require minimal shaping. They come in a variety of sizes and are inexpensive, but if you want to be a little more creative and add more shape to your ghost, then chicken wire is the way to go!
2. An Old Sheet or Piece of Fabric
Typically, you want to use something you would not miss. An old sheet is perfect to use for this project—especially if you want a textured/ripped effect at the bottom of your ghost. You can even use plain fabric of your choice and layer it with sheer fabric for added effects. It's completely up to you and what look you're going for!
3. Paint, Fabric, or Paper
There are a wide variety of things you can use for the face of your ghost. Fabric paint is the best method I can recommend. It's simple, quick, and the kids can help! Not to mention it will last for many Halloweens to come! If you like to sew, you can also take black fabric and cut the eyes and mouth to your sheet. For a quick face without damaging the sheet, painted cardboard or construction paper taped onto the sheet will work just as well.
4. Lights!
For best results, use LED wide angle lightning lights. The flashing effect of these lights makes your ghost(s) appear then disappear within seconds, making your house even more spooky and fun! The best part about these lights is the fact they're indestructible and energy efficient! If you don't have access to these lights, ordinary incandescent or LED mini lights will work as well.
Steps to Assemble Your Ghost
Take your base(s) and place wherever needed in the front yard. Keep in mind you may have to run an extension cord, so make sure there are no tripping hazards in the surrounding area. Make sure the base is secured by planting it into the ground.
Take the light strings and begin to wrap it around the base you created. For best results, focus the lights around the head area of your ghost. Think of the lights as a gradient: You want the most concentrated light around the head and have the light fade down the body of the ghost. This will add a spookier, glowing effect, making it look like your ghost is actually floating in your yard!
Once your lights are secured around the base of the ghost, place the "body" (aka sheet) over the base. Turn on your lights, and presto! You have a glowing ghost!
There are many ways to incorporate lighting into your DIY decoration projects. Be sure to check out our Halloween lighting ideas page for more inspiration to decorate your home with this Halloween! Making this for your home? Have your own personal twist to this idea? Share your ideas and photos with us! Drop us a line in comments or on Facebook, Twitter, or Google Plus. And if you're really proud of your creation, be sure to share it on our Pinterest Halloween Pinboard!


