DIY Enchanted Rose from Beauty and the Beast
In this original DIY from 1000Bulbs.com, we show you how to assemble your own Enchanted Rose from Beauty and the Beast using LED lights. Our interpretation is battery-operated, allowing you to place this light-up rose virtually anywhere, and it costs just under $50 to make! Whether you’re creating the rose for yourself or giving it away as a gift, this childhood tribute will be a welcome addition to any nightstand, vanity, or bathroom counter.
Materials
A synthetic pink or red rose (you’ll want one that is more bloomed than closed)
A long wooden dowel (We chose one that was 36” long and 3/16” thick.)
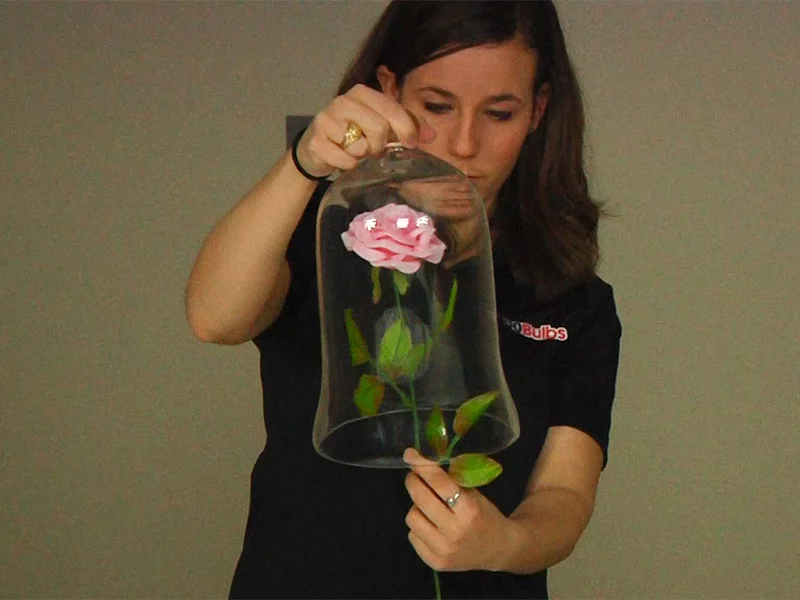
A glass bell dome measuring at least 1 ft. tall
A circular wooden plaque (The diameter must be larger than the opening of the bell dome)
A 5.6 ft. battery-operated Invisilite warm white LED light string (18 LEDs)
Green floral wire
Gold and green spray paint (Glitter is optional)
Scissors
Wire Cutters
Drill with a bit large enough to create a hole that will fit the dowel and LEDs
Steps
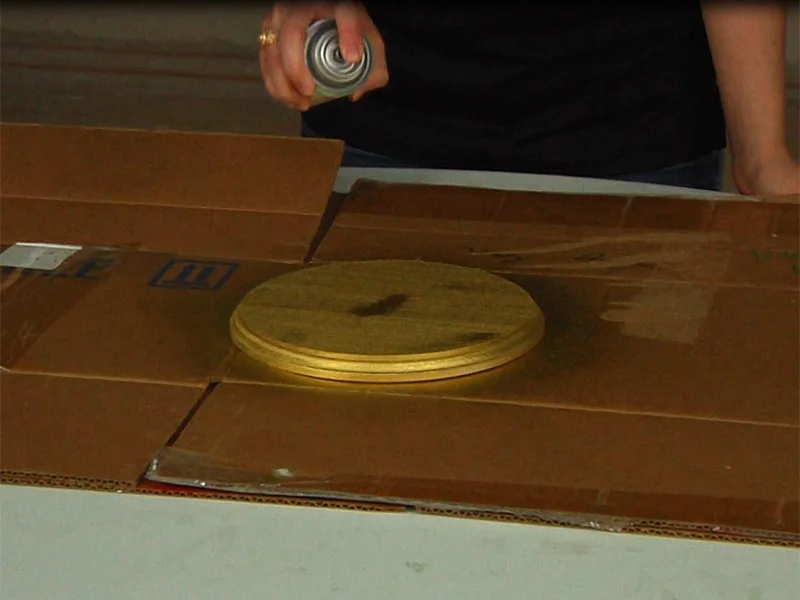
1. Spray paint your plaque gold and your dowel green. Then wait for them to dry.
2. Line up your rose next to the bell dome and cut it. You will want the top of the rose to be about an inch from the inside of the top of the dome. The bottom of the rose should be about an inch or two longer than the bottom of the dome.
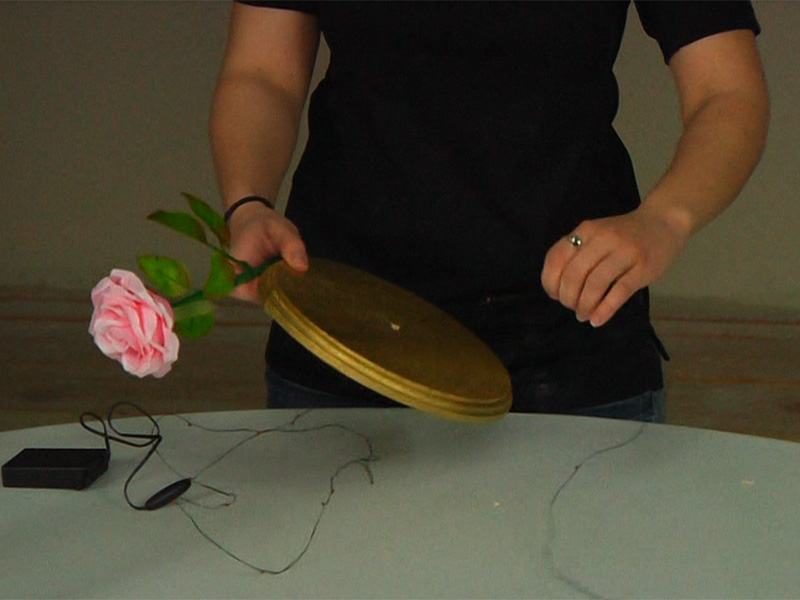
3. Cut the dowel down to the length you need. Line up your rose next to the dowel to see how long you need the dowel to be. The top of the dowel should rest at the bottom of the rose bud, and the bottom of the dowel should rest at the bottom (NOT THE TOP) of the plaque. (You’re going to stick the dowel through a hole in the plaque to make it a stand for your rose later.)

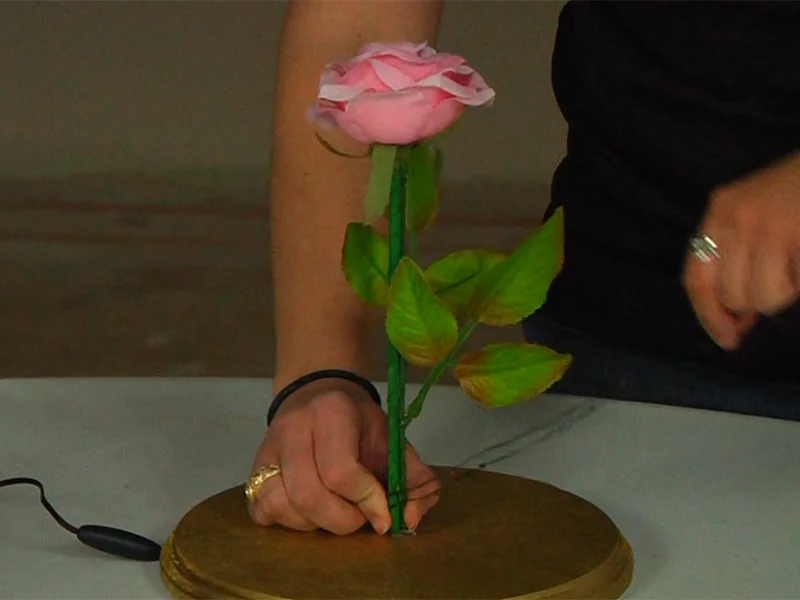
4. Use the florist wire to attach the rose stem to the dowel. Remove extra foliage from your rose. Our rose’s leaves are removable, but you may have to remove your leaves with scissors or wire cutters.

5. Drill a hole in the plaque. The hole must be a little wider than the thickness of the dowel to be just wide enough able to fit both the dowel and the LED light string. Test the hole with the dowel and light string.

6. Place the dowel into the hole in the plaque, then find the end of your Invisilite LED light string and feed it through the gap.
7. Once you have all of your light string through the gap, double up your LED light string. You will want an LED every two inches instead of four, and it should about 2.5 feet long instead of 5 feet long.
8. Starting at the bottom of the stem, wrap the LED light string around the rose. Be sure to leave enough wire to run from the bottom-center of the plaque to just outside the plaque, where the battery pack will be. You’ll want a few strategically placed LEDs wrapped around the stem, but you’ll want most of the LEDs to be up in the bud to give your rose a pretty pink glow. Pull and tug the wire to see where the best placements are for your LEDs.
9. Fill the extra space between the dowel and the plaque with excess wire and glue. Wait for it to dry, and make sure the rose cannot move.